Arthur undertakes book and paper conservation in his studio alongside regularly offering training in practical disciplines ranging from bookbinding to tool sharpening and, most recently, parchment repair.
Why parchment?
I have been training in a private conservation studio for the last year and a half but haven’t yet had the opportunity to work with parchment or undertake parchment repair. I am very aware that conservators are moving towards a more ‘hands-off’ approach when it comes to conserving parchment; sympathetic mounting and housing going a long way to ensuring the future stability of the material. However, I am undertaking a second placement in a private studio where the conservators frequently deal with projects on parchment. I felt it was important to at least understand how to approach parchment repair, and to get a feel for the techniques involved, before jumping into interventive treatments. Arthur’s workshop was a very well-timed introduction for me!
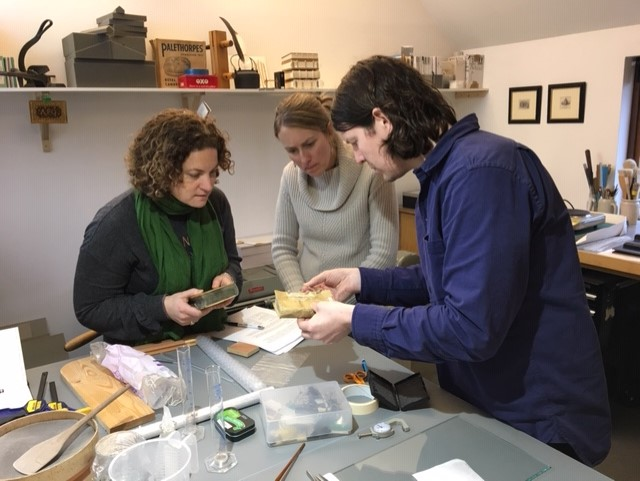
As a small group of 4 working with Arthur in his studio, there was time for all of us to try our hand at preparing the materials and undertaking practice repairs. We spent the morning discussing the fundamentals of parchment, including material selection, preparation and choice of adhesives. The majority of the day, however, was given over to preparing the gelatine adhesives and undertaking repair techniques with different types of parchment.
Preparing the adhesives
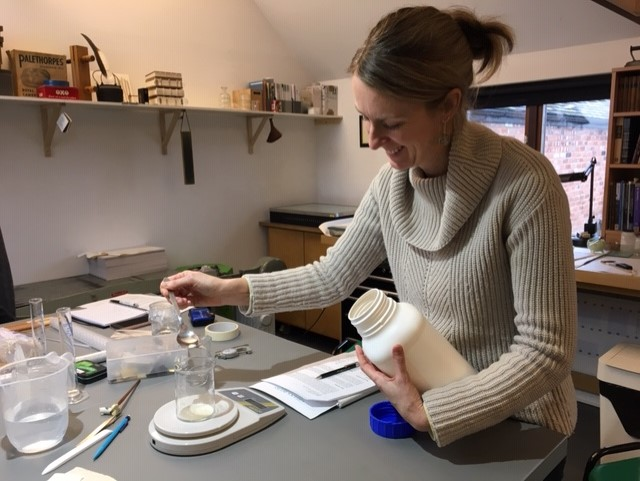
We used both a gelatine mousse and a warm liquid gelatine to repair parchment with parchment. One of the things I most enjoyed when working with Arthur was his practical and pragmatic approach to conservation. We discussed the use of wheat starch paste and japanese papers to undertake parchment repair, but as Arthur pointed out, we have to question what is going to be the best material for the job in hand? Which techniques and materials will actually last allowing the parchment (book, folio etc.) to be accessible, and overcome the potential trauma of daily use. In confronting these questions, we moved forward with gelatine as our adhesive of choice for this workshop. It is a material we know from history works, will last, and will ultimately stick, holding our repairs in place. We used photographic grade gelatine, a known quantity in that we are aware of the bloom grade (a measure of the strength of the gelatin). Gelatine with a higher bloom grade (around 300g) provides a stronger adhesive bond and is suitable for parchment repair – we used a gelatine with a bloom grade of 280g, perfect for our practice pieces.
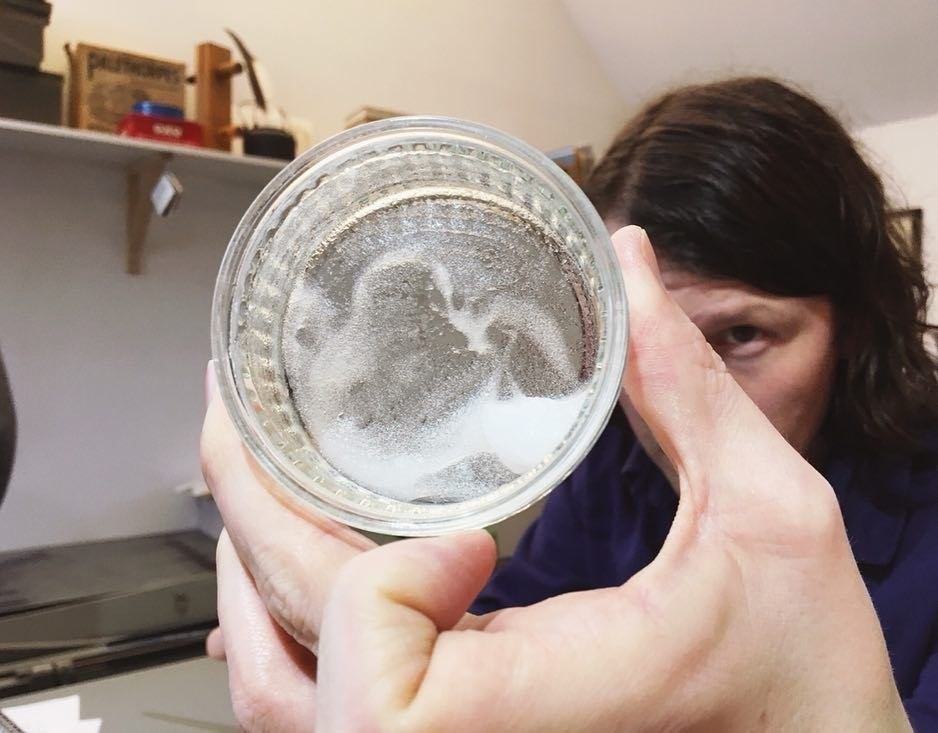
We began by preparing a 4% w/v gelatine mousse, which can also easily be made the day before and brought up to room temperature before application. We sieved the gel at least 3-4 times to achieve a smooth consistency before working with a brush and diluting as required. Perhaps a more familiar technique to most conservators, the gelatine mousse essentially buys us more time in undertaking our repair; it doesn’t dry as quickly as the warm liquid gelatine and is therefore more suitable for undertaking larger infills, for guarding, hinging folios or applying shaped repairs. Another useful property of the mousse is it allows much more control over the amount of moisture the parchment is exposed to – an important characteristic given that parchment stains readily and becomes transparent through excessive exposure to moisture.
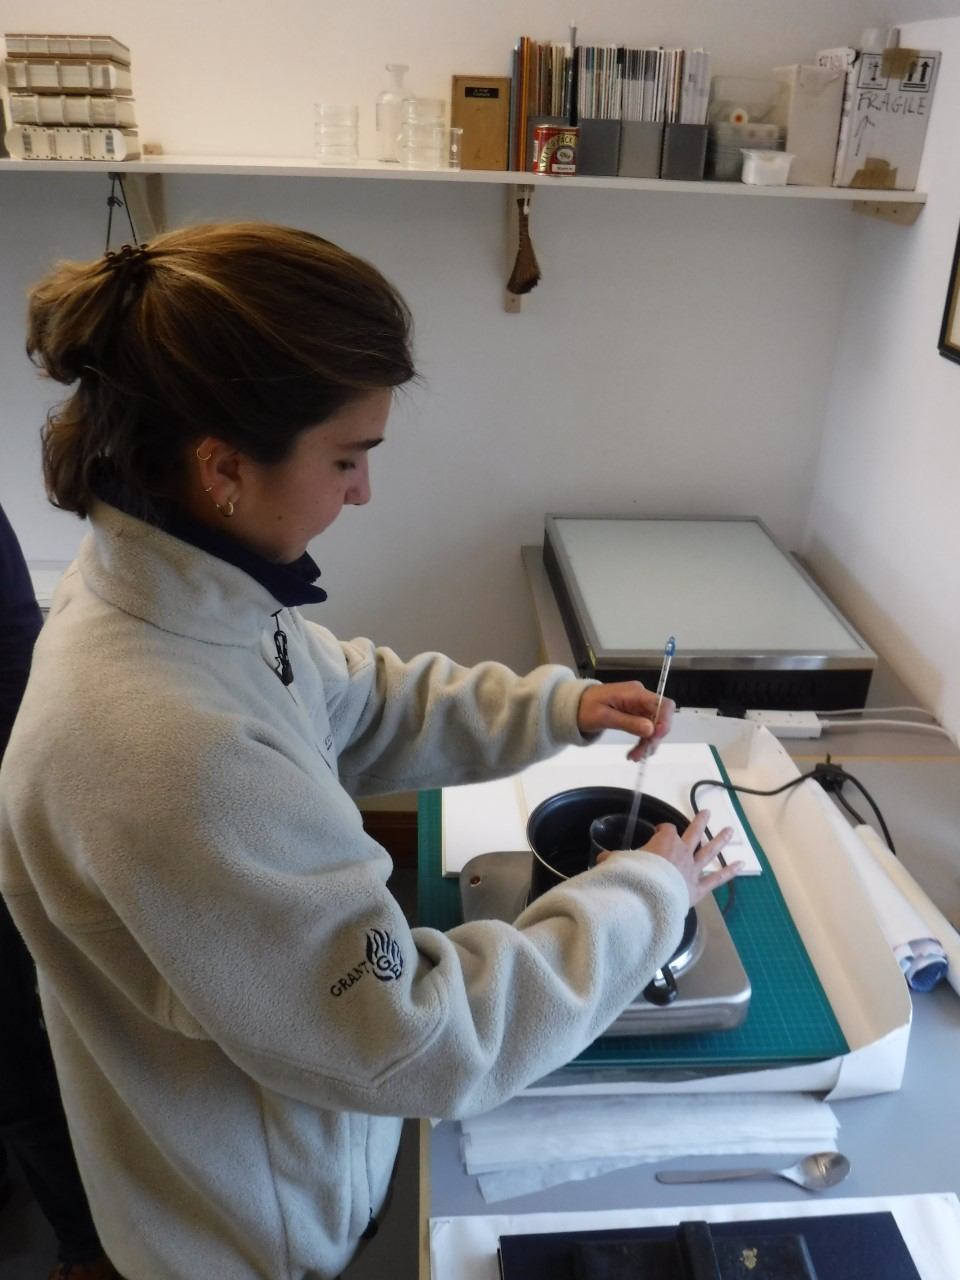
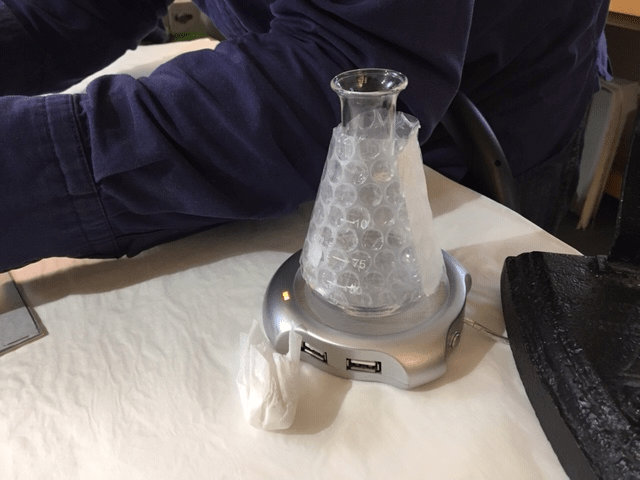
We then prepared our 2% w/v warm liquid gelatine by heating the gelatine granules in water at around 40-50 degrees celsius, until dissolved. The challenge was then to maintain the liquid at this temperature whilst carrying out the repairs … queue Arthur’s tips and tricks. For a couple of pounds you can buy a USB mug-warmer which will help to keep your liquid gelatine nice and liquidy for the duration of your treatment. Arthur also used a conical flask with a narrow neck, coated in bubble-wrap with a stopper on top to prevent the liquid from evaporating and to retain the heat. As with any treatment, application has to be controlled; however, given the liquid gelatine is just that, a liquid, having control over technique and the application process becomes even more pertinent. It was certainly more challenging to control the amount of moisture applied to the repair parchment using this technique in comparison to using the gelatine mousse; but as we later found out, the warm liquid gelatine appeared to have a greater sticking power.
Repairs
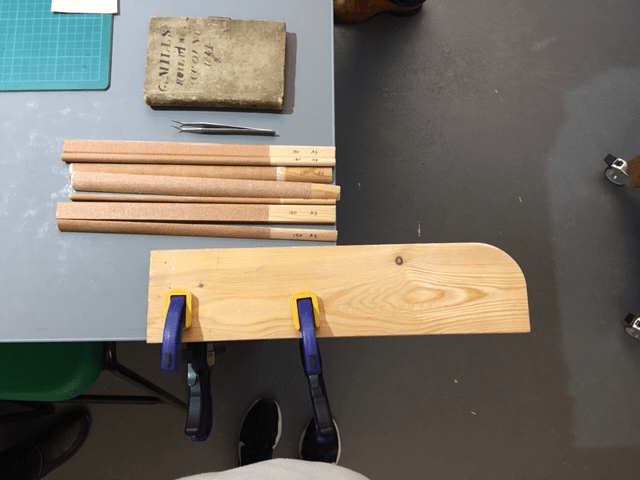
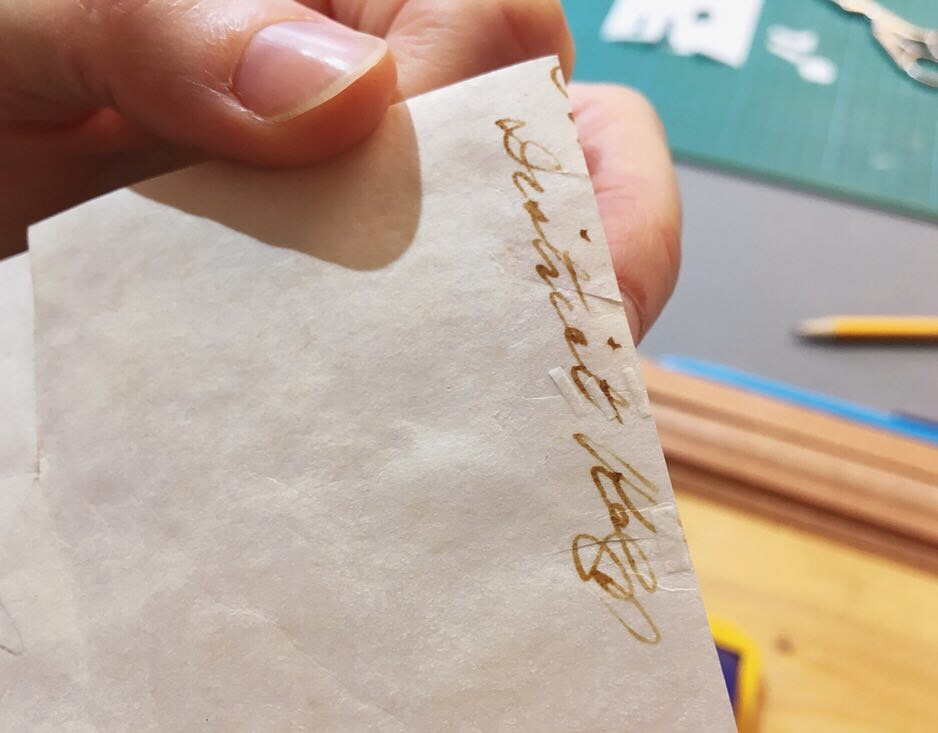
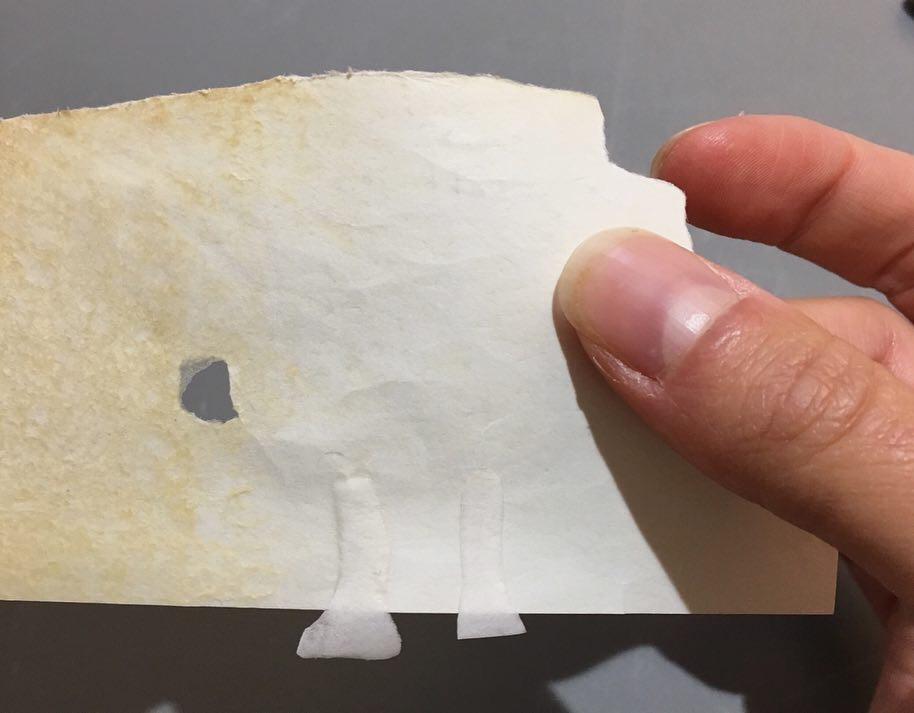
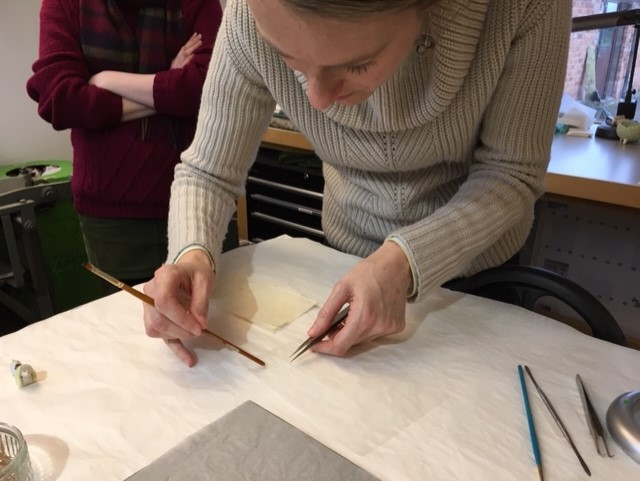
We undertook flat parchment repairs in both tab and shaped form and experimented with using gold-beaters on small test pieces of parchment. I have always been a fan of tab repairs and often employ this technique on paper when working with conservation volunteers. It’s a simple,quick technique and there is something very honest about it. Given you can get away with small tabs of as little as 1mm in width, these repairs are almost invisible once applied to the parchment, whilst still being effective at holding a tear together. When infilling, we used tracing paper to first trace out the shape of our repairs, then transfer onto the repair parchment. We used sanding sticks to pare down the edges on the flesh side of the buffed repair calf, allowing for a smooth transition onto the original parchment document when filling the losses. It doesn’t take long for your repair to stick when using gelatine, and we found that the pressure and heat of a thumb over the repair (through a piece of silicone release paper) was enough to hold the repair in place whilst the adhesive set.
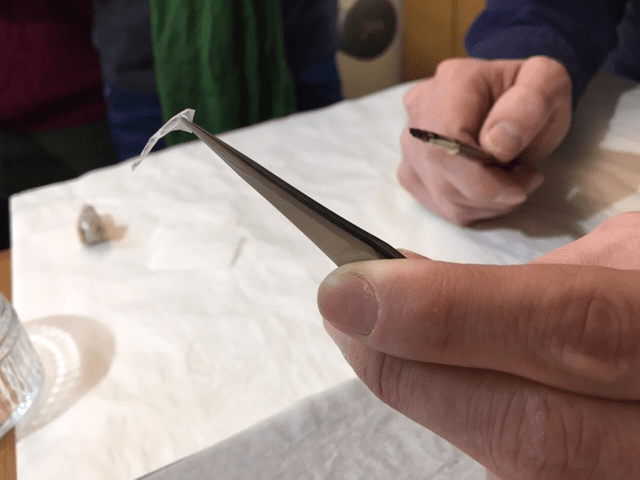
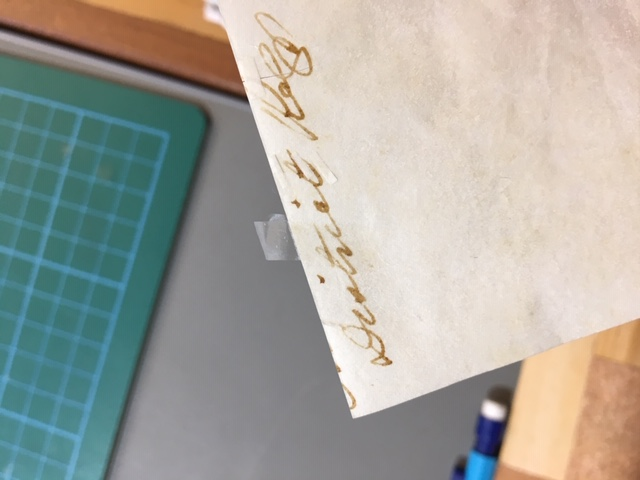
Using the gold-beaters for tear repairs was particularly sympathetic and appropriate for repairs over text or indeed for parchment to be conserved for display. However, I have to say I found the application of gold-beaters with warm liquid gelatine particularly challenging. Because the gold-beaters is so thin its very difficult to apply the warm liquid gelatine to the material without it curling up. Once the gold-beaters has been brushed-out with adhesive it’s challenging to manipulate and to apply flat to the damaged parchment, even when using tweezers. Given that the warm liquid gelatine also sets incredibly quickly, it is important to work fast when using this adhesive.
Arthur had a useful technique to allow us to successfully apply the warm liquid gelatine to the gold-beaters without it curling. We cut a small piece of gold-beaters and temporarily adhered it to a sheet of polythene using the liquid gelatine; the polythene acted as a support for brushing-out the gold-beaters with adhesive. To apply the gold-beaters to the damaged parchment, the piece of polythene could be lifted, flipped over, and lined-up with the relevant tear before fixing in place, using pressure from the thumb or finger through a piece of silicone release paper. This method allowed for far greater accuracy when applying the repair, omitting those crucial minutes fiddling around with the gold-beaters to try and keep it flat before even attempting to apply it.
We decided to carry out a strength test on our repairs by adhering two tabs of repair calf using the gelatine mousse, and two using the warm liquid gelatine to a piece of parchment. When the adhesives dried, we attempted to manually remove the repairs – whilst the gelatine mousse-adhered tabs didn’t give up immediately, they certainly came away from the piece of parchment more readily than those stuck with warm liquid gelatine. I have to say I was quite surprised and impressed by the strength of the warm liquid gelatine. It took a lot of effort to pull off the repair and whilst the technique certainly takes more mastering, it is definitely worth it in the long run to achieve a repair that is actually going to last – as with everything, practice makes perfect!
Thanks
My thanks to Arthur for facilitating my first foray into parchment repair. Whilst repairing parchment is an activity I may never have to carry out, I feel it’s far more valuable and far safer to actually have some practical experience undertaking these repairs. Being prepared for an eventuality where I may need to employ these skills is far better, than to hope that such a project won’t appear on my bench, or to try and find an alternative, perhaps less appropriate or desired solution.
Thanks also go to my fellow attendees on the course; Rachel Sawicki (Cambridge University Library), Sally Kilby (West Dean College), and Alexa McNaught-Reynolds (British Library).
I also want to thank the Icon Book and Paper Group for providing me with the funding to attend this workshop. I learn best through seeing, doing, and getting stuck-in. This workshop provided a real hands-on and thus very valuable experience. I encourage others to apply for Icon grants in the future if they are keen to broaden their skills and knowledge on a conservation subject.


