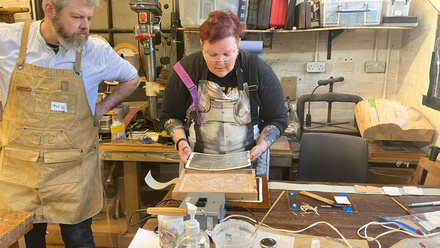
In the medieval world, limp vellum bound books would have been common place, akin to our modern paperback. As an emerging book conservator, I was eager to get some experience working with vellum as I will no doubt be faced with conservation of similar book structures in historic collections.
I was thrilled to find a short course at CityLit in London taught by Kathy Abbott, a London binder that I greatly admire. Kathy has worked with antiquarian books for many years, so she has a wealth of first-hand knowledge of the historic characteristics of types of bindings.
As we were making volumes based on common 17th Century Italian-style vellum bindings, she explained variations that would have existed in the materials and the methods. Kathy is very good about giving the reasons why decisions are made in the use of materials and methods. For instance, she described the two basic endpapers she has most commonly seen in historic limp vellum volumes of this sort. The first is a single folio endpaper sewn with the textblock; the second includes a second folio that ‘hooks’ around the first and both are sewn though, which creates a stronger structure. In our books, the decision of which one to use came down to the thickness of our paper. The thick, handmade endpaper (130 gsm) we were using would have created too much bulk for a hook, so we used the single folio style. A hooked endpaper would be ideally in the range of 80gsm to 100 gsm.
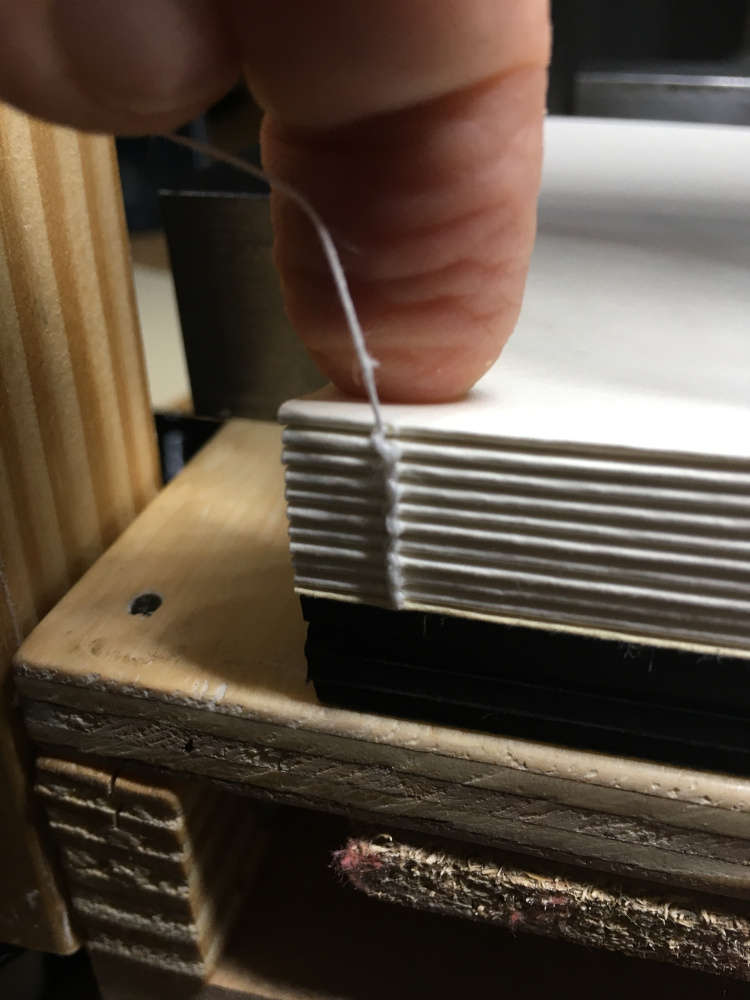
Kathy took a lot of time to teach us how to choose the right thread for a book block in order to get the right amount of swell and how to sew a bookblock with the right tension. She also showed us an endband that creates both a back bead and a front bead.
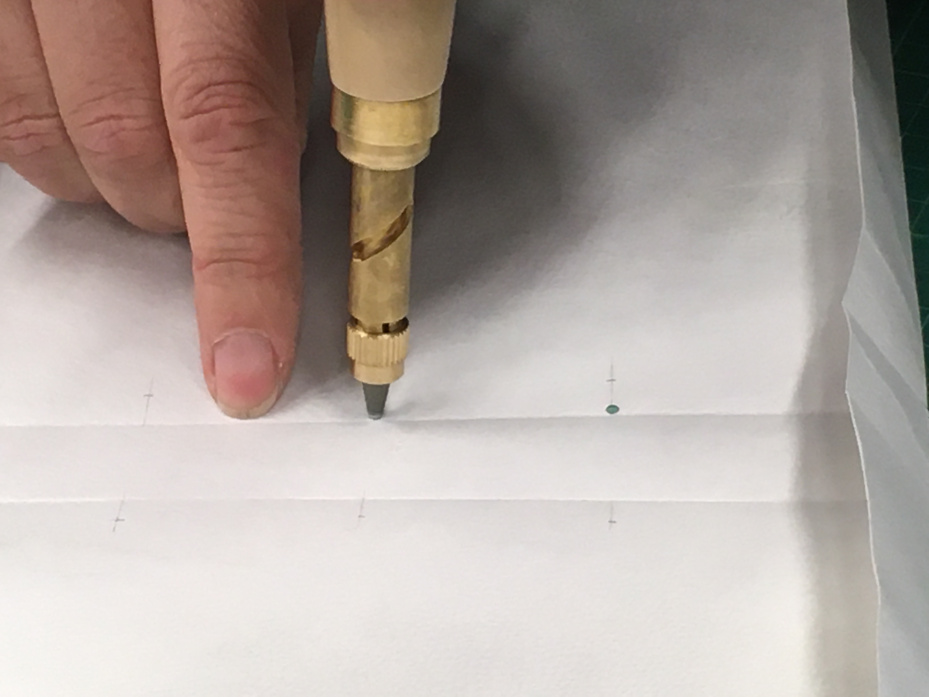
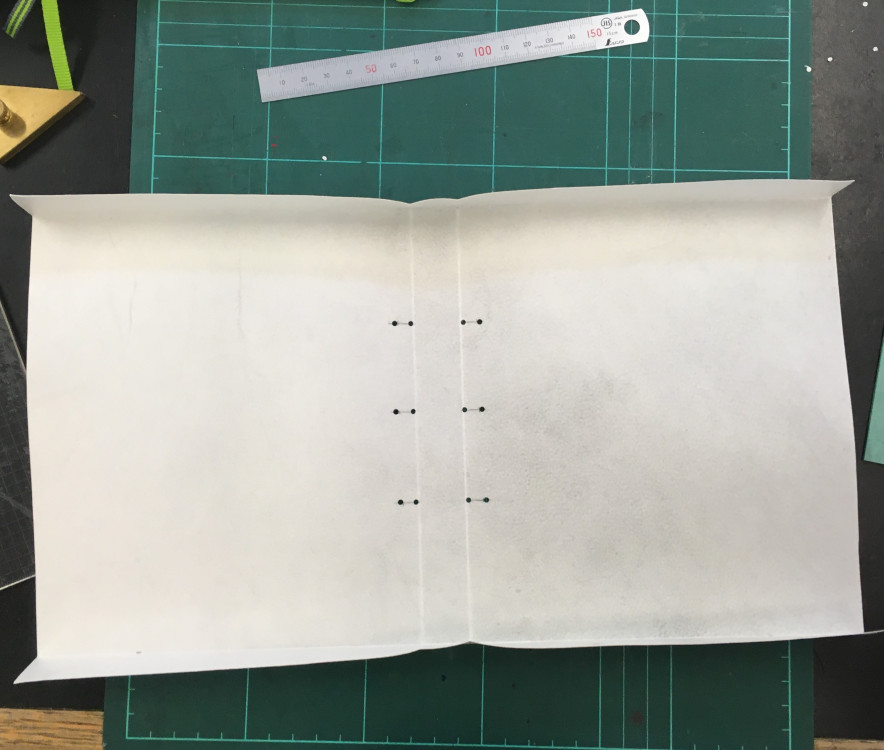
Making the vellum cover reminded me a little of working with archival kraft board to make phase boxes or other enclosures. We had to score the vellum to fold it, and we used a Japanese hole punch to create clean, regular holes for lacing the thongs through the wrapper.
Tips
The three-day class was full of interesting information and lots of tips on how to work efficiently and to a high standard in measuring and cutting. I was introduced to a new gadget – the ‘rule stopper’ to get more accurate measuring, especially when you need to measure several times or with different materials.
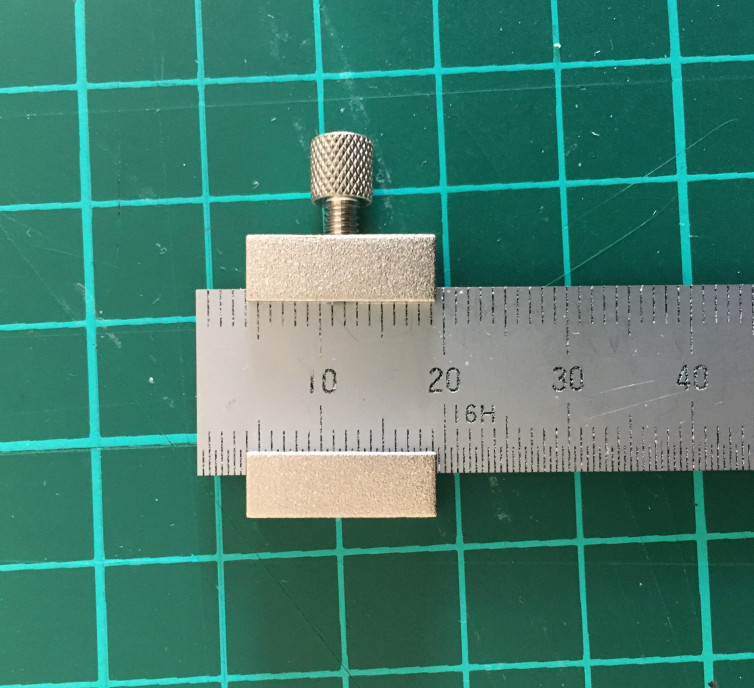
The Rule Stopper
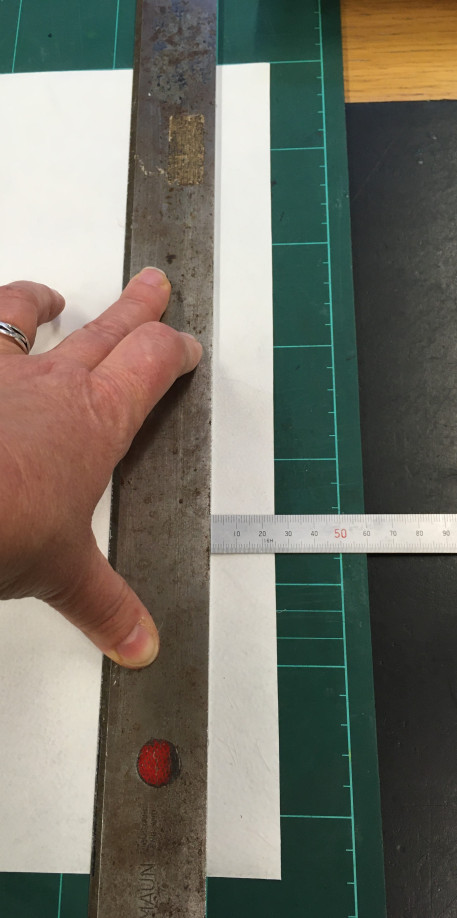
I also learned some tips on cutting – in this image, you can see the method we used to cut a strip of vellum. We used a heavy straight edge to secure the vellum and then used a ruler to set the distance up and down the strip. This clever method allowed us to cut a strip quickly without having to make any marks on the material.
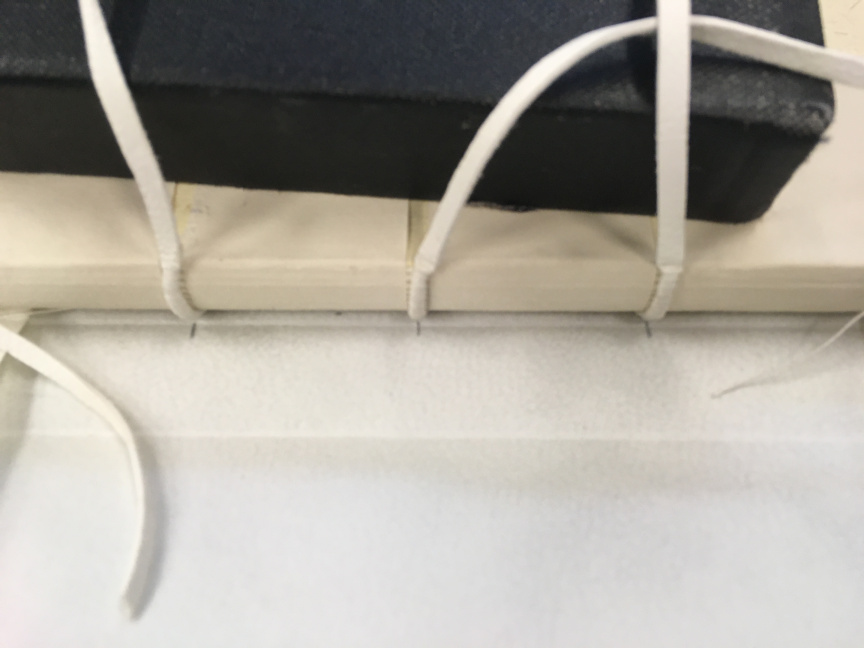
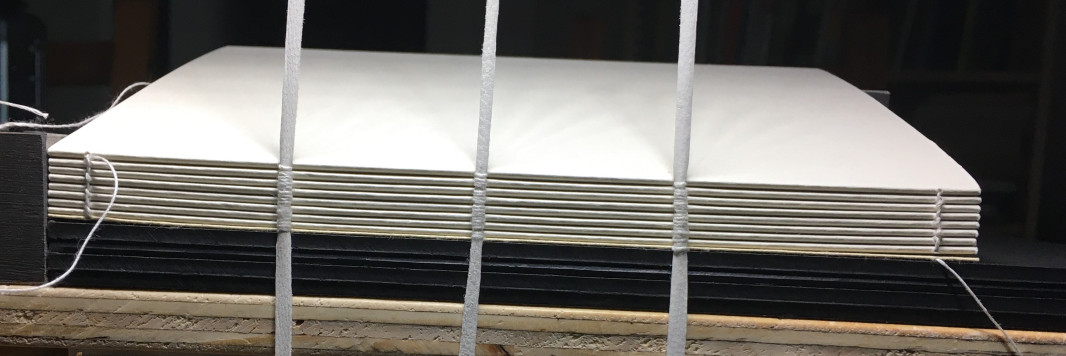
I was thrilled to learn how to sew onto alum tawed thongs. Kathy explained a bit about the production of alum tawed skins – that it is not leather as it is not tanned (which involves soaking the skins in a solution to preserve it). Rather, alum tawed skins are treated with a coating of alum salts. Wetting will remove the salts, reverse the process, and allow the skin to putrefy. An interesting tip was that if you need to clean alum tawed skin, you can use an eraser as you would not want to wet it in any way.
I thoroughly enjoyed taking a class with Kathy Abbott – she has such a wealth of knowledge and is a lot of fun to work with. A bonus to the class was that there were three other book and paper conservators in the course, so we were able to share applications for the methods we learned. I am grateful to the Icon Book and Paper Group for the professional development bursary (October 2019) for funding this course. I have a beautiful new limp vellum book, and best of all, I now have the confidence to work comfortably with vellum and alum tawed skins.
Wanda Robins recently completed her Masters in Book Conservation from Camberwell College of Arts and is currently completing the portfolio work for a City & Guilds certification in Craft Bookbinding. The course at CityLit was held over three Tuesdays in November/December 2019.


